Wednesday, April 3, 2013

Garlic Rosemary Wheat Bread

One of my favorite things to make is bread! I've done many basic wheat bread recipes, but I wanted to add some interest and favoring with garlic and rosemary! 
Ingredients:
  • 3 cups of whole wheat flour
  • 2 cups of white flour
  • 1 teaspoon salt
  • 1/4 cup butter, softened 
  • 1/4 cup of honey
  • 1 packet of yeast
  • 2 cups of warm water
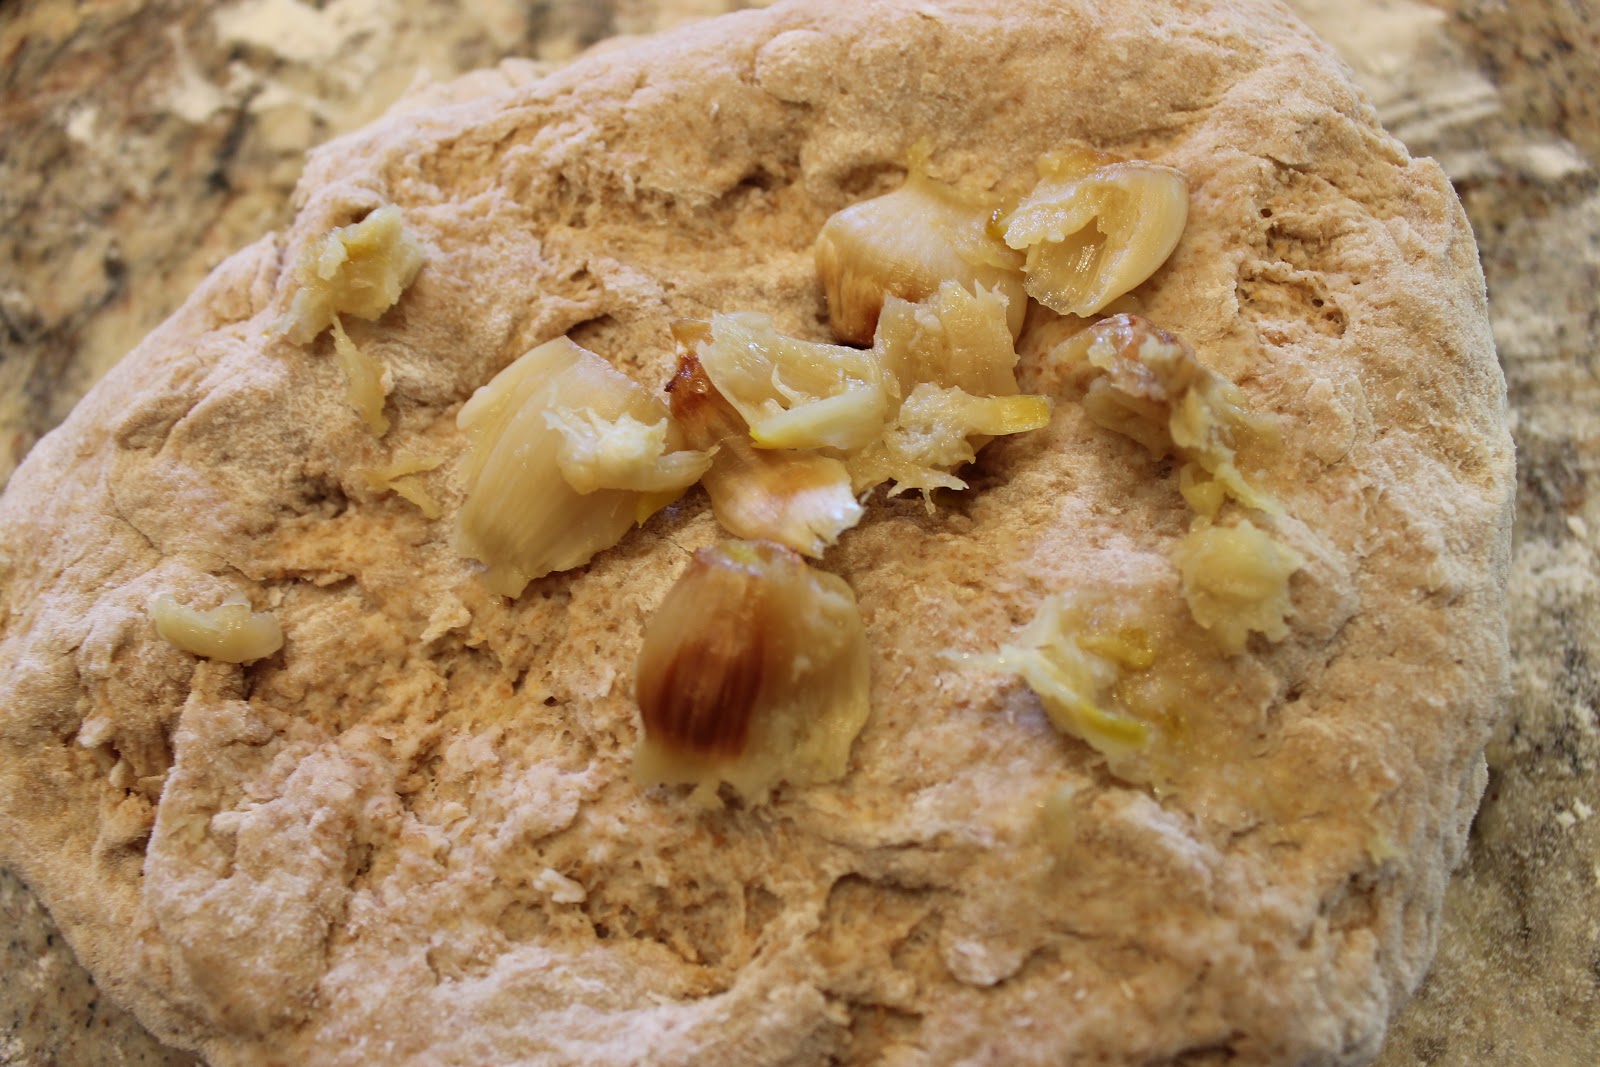
  • Roasted garlic 
  • Fresh rosemary  

Dissolve the packet of yeast in the warm water and let sit for 5 minute. In a separate bowl mix together the honey, butter, & salt. 
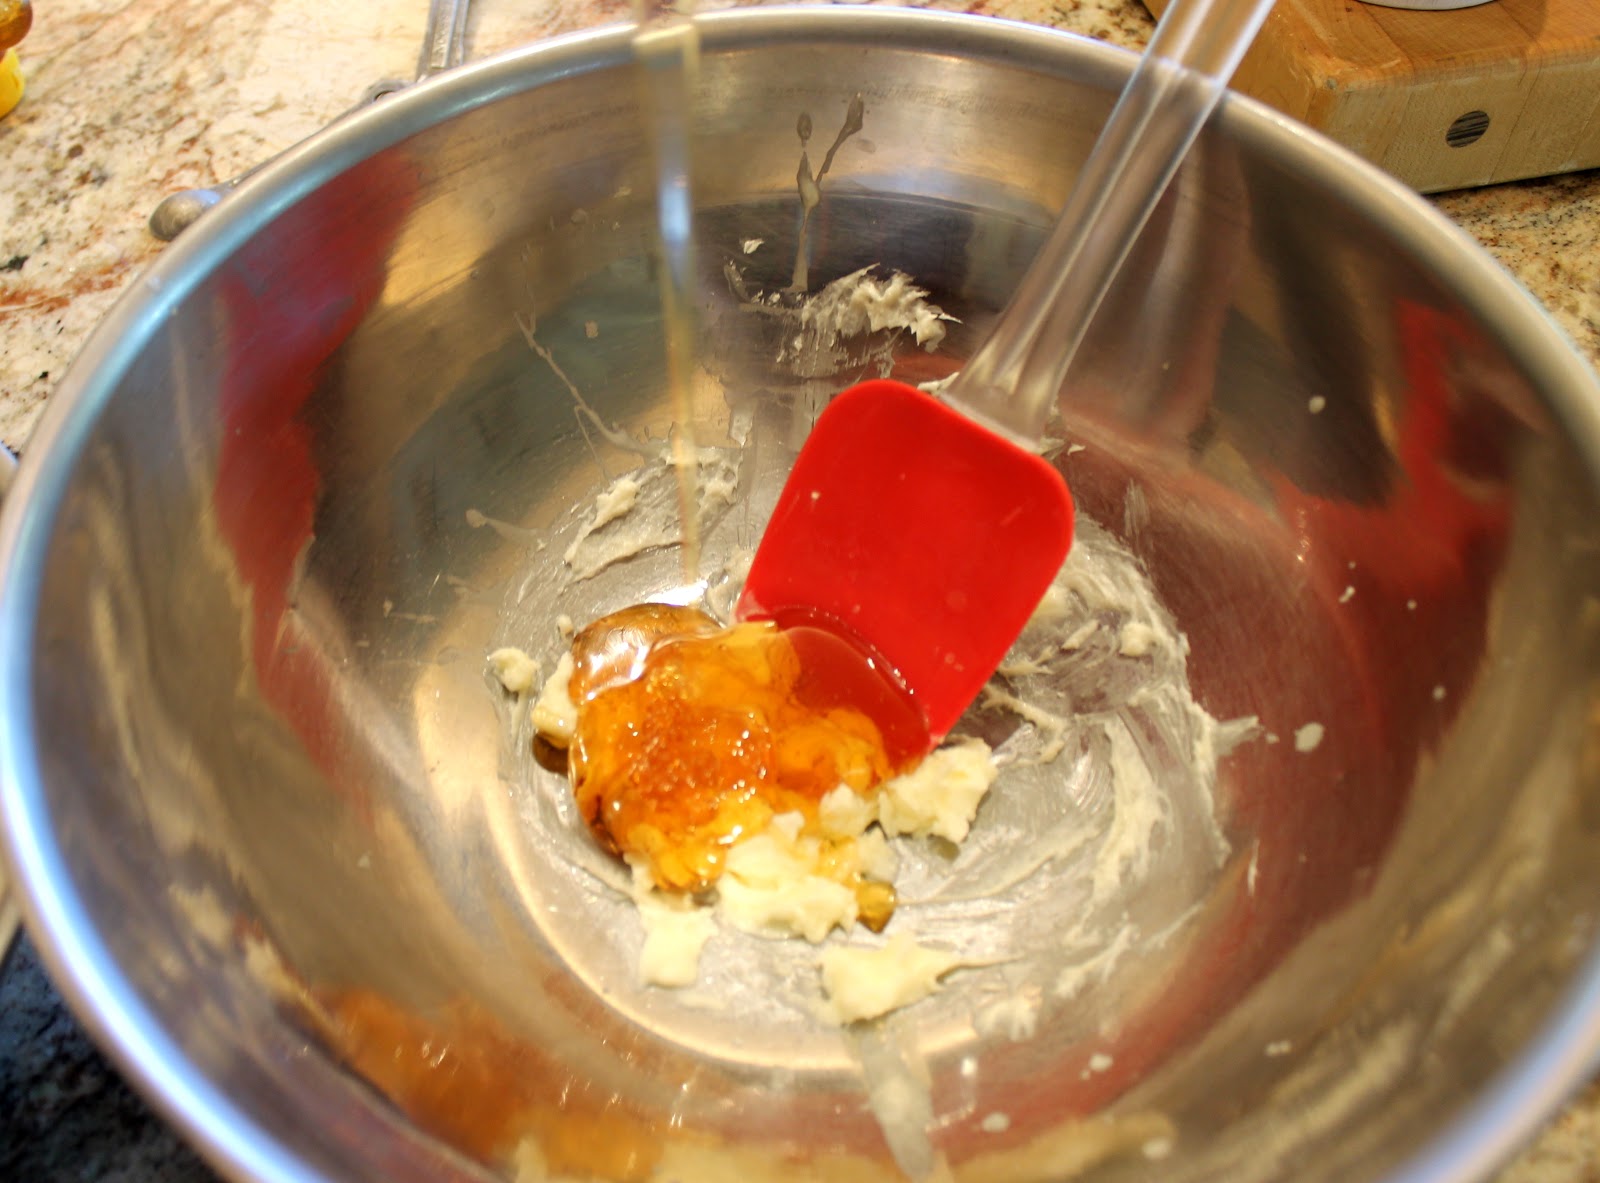
Add the water/yeast mixture to the honey/ butter mixture.
Slowly begin to add the yeast. 
With about one cup of flour left to add the mixture will be too dough-y to mix, which is when I turn to kneading. Transfer the dough ball to a lightly floured surface, add the remaining flour and kneeeead! 
Add in the roasted garlic! Yummmm!
Then add in the rosemary!

Once everything is evenly mixed move the ball to a clean bowl and lightly cover the dough with olive oil.
 About an hour or two later the dough will double...
Once the dough ball is twice it's original size divide it into two separate balls.
Leave these to rise some more, about 30 minutes. In this time pre-heat the oven to 375.
Bake at 375 degrees for 35 to 40 minutes.
And you're done! Now the tricky part here is to not eat it all in 10 minutes!

Thursday, February 21, 2013

Flower Crown

As it is still wintertime here in Oregon, I needed a colorful pick-me-up to brighten my day. This craft perfectly combined my obsession with flowers and my love of hair accessories! 
You simply need:
  • fake flowers! 
  • wire (green is best)
  • and hot glue

Begin with measuring the size of your head. My big head needed two of the steam wires!

Once you have the base of the grown and your glue is hot take a flower stem and begin gluing to the crown!
Using the hot glue, attach each flower stem to the wire. Pick one direction and go!
Make sure to keep gluing in the same direction around the wire.
Once you connect to the beginning...
And the final product! This was actually my second floral crown I've made. Check out below my yellow one I made last summer!

Saturday, January 19, 2013

(possibly) The Easiest Tortilla Soup!

 It has been freezing cold here in Oregon so why not warm up with some yummy and easy homemade soup!!
The key ingredients you need are:
  • chicken broth 
  • canned tomatoes
  • tomato paste

Beyond those three ingredients I literally started to dig in the pantry to see what would be good! Here is a list of what I added:
  • canned corn
  • yellow onion
  • garlic
  • canned green chilies 
  • black beans
  • pepper jack cheese 
  • chili powder to taste
First I browned the onions in a large pot on medium heat. While the onions were browning I opened all the cans, grated the cheese and washed the beans.
 Add the chicken broth, tomato paste and canned tomatoes and stir.
 Then add the beans, corn, chilies, garlic, and whatever else you decide to add! I let this all cook together on medium heat for about 20 minutes. 
 A few minutes before serving, I added the cheese to melt in. Check for taste and if needed chili powder, salt and pepper as needed.
I had tortilla chips on hand which I crushed for a little garnish and bam! Tortilla soup! How easy? It was perfectly spicy, chunky and warm on a cold winter day!


This was the only photograph I got before all the soup was snatched up!

Thursday, December 13, 2012

DIY: Homemade Candles

Looking for a cheap & easy holiday gift? Look no further! Making candles is fun and, when done my way, very cheap! I'm always thinking of things to make into candles, need inspiration? Anthropology, Urban Outfitters and Pottery Barn all sell (expensive) candles anyone can make at home! So steal with your eyes & make your own!!
Supply List:
  • Old candles - my grandma hooked it up 
  • ANYTHING you want to make into a candle (Here I used candy dishes, tea cups, and a crystal goblet!)
  • Wicks - at your local craft store or Amazon.com
  • A large pot filled about half way with water
  • A glass Pyrex measuring cup **
  • Tape
  • Anything long and sturdy to hold the wicks straight
(** Pyrex is key, the glass will not shatter and the wax does not stick!)

The first step is to boil water in the large pot. Then, with broken up or crushed old candles in the Pyrex cup, drop the measuring cup in the boil water and wait for the wax to melt!
One fun part about homemade candles is mixing colors! We did a couple batches of wax and made red, yellow, and creme variations! 
The wick is not sturdy enough to stand straight alone which is why chop sticks, pencils, anything of that shape is needed! With tape and two sticks create a wick-holder as seen above.
Now the hard part: wait for the wax to harden! I generally let them sit overnight and awake to beautiful homemade candles. So grab a book, brew some tea, light these candles and enjoy winter!

Friday, August 17, 2012

DIY:: Lace Chandelier


For my new room in Oregon my overhead light is naked and needed a skirt of sorts! Also known as a home-made lace chandelier!

Supplies:
  • Lace trim- about 2 yards
  • Needlepoint hoops
  • Hot Glue
  • String & Scissors 

Measure the lace around each needlepoint hoop hot glueing as you go! Attaching hoops can be a little tricky, but what I did was cut exactly the same length string and attach it at the same spot on the inside! As you can see below use hot glue in four locations in a "x" shape connecting the hoops to each other.


Hopefully if all the strings are the same length and placed in the same location it should hang equally like a chandelier! When I get back to Oregon I shall post pictures of how it looks in my new room! Enjoy xoxo

Friday, August 3, 2012

DIY:: Mustache Pillow


Mustaches are really in right now, so what better form than pillow form! Combining my love of pillow-making with my roommate Shelby's love of facial hair!

Supplies:
  • 3 different fabrics
  • Sewing machine
  • Mustache stencil 
    • I made mine, but you could easily print one off the internet!


I dug up some leftover fabric from my prom dress to give the mustache a little class! And used a homemade stencil that I'm sure will come in handy later.


After sewing down the mustache cut the back fabric and put the fronts of the two rectangles together and stitch! Leaving an opening to turn inside out! And there you have it! 

Enjoy xoxo!

Sunday, July 15, 2012

DIY:: Wine Cork Photo Display

Having recently acquired a huge basket full of wine corks (no, I did not drink all of these bottles. Although I do fully support drinking for the purpose of crafting!) I embarked on my first wine-cork-craft: the thumbtack photo display! 
As I was trying to fill a small empty space in my new house I went for the longer, two-cork-wide shape. The supplies for this craft included:
  • Wine corks 
  • Hot glue gun
  • Ribbon
  • Pictures and thumbtacks
Use the hot glue to attach the wine corks into whatever shape you desire. 

Then simply add a ribbon to the top as a functional way to hang it... 
 And finally personalize with pictures, ticket stubs, anything!
Enjoy!