

While home for the weekend I managed to squeeze in a few crafts, including making a headboard! Shout out to the puppy model in this post: Ramses.
On a side note, this blog is starting to reveal my obsessions ... like chevron print...
What you'll need:
- Fabric!
- Quilting batting
- A piece of wood
- Staple gun (or strong glue)

After gathering supplies, I used my college math skills to figure out the measurements I needed to fit my bed. Now my bed at home is pretty big, like king size big, which is why I used a piece of wood that was 80 inches by 36 inches. Depending on the size of your bed, these measurements will be different. The piece of wood originally was was much bigger than those dimensions, but thanks to my handy-man father the wood was sized to my needs.

I cut the batting and fabric about 2 inches bigger around (about 84 inches by 40 inches) to be bigger than the wood.

While trying to fight off Ramses from snuggling in the batting, we laid it down and flatten it out.
This is where the staple gun came into use. With the wood on top of the batting, fold over the extra two inches and staple, staple, staple!

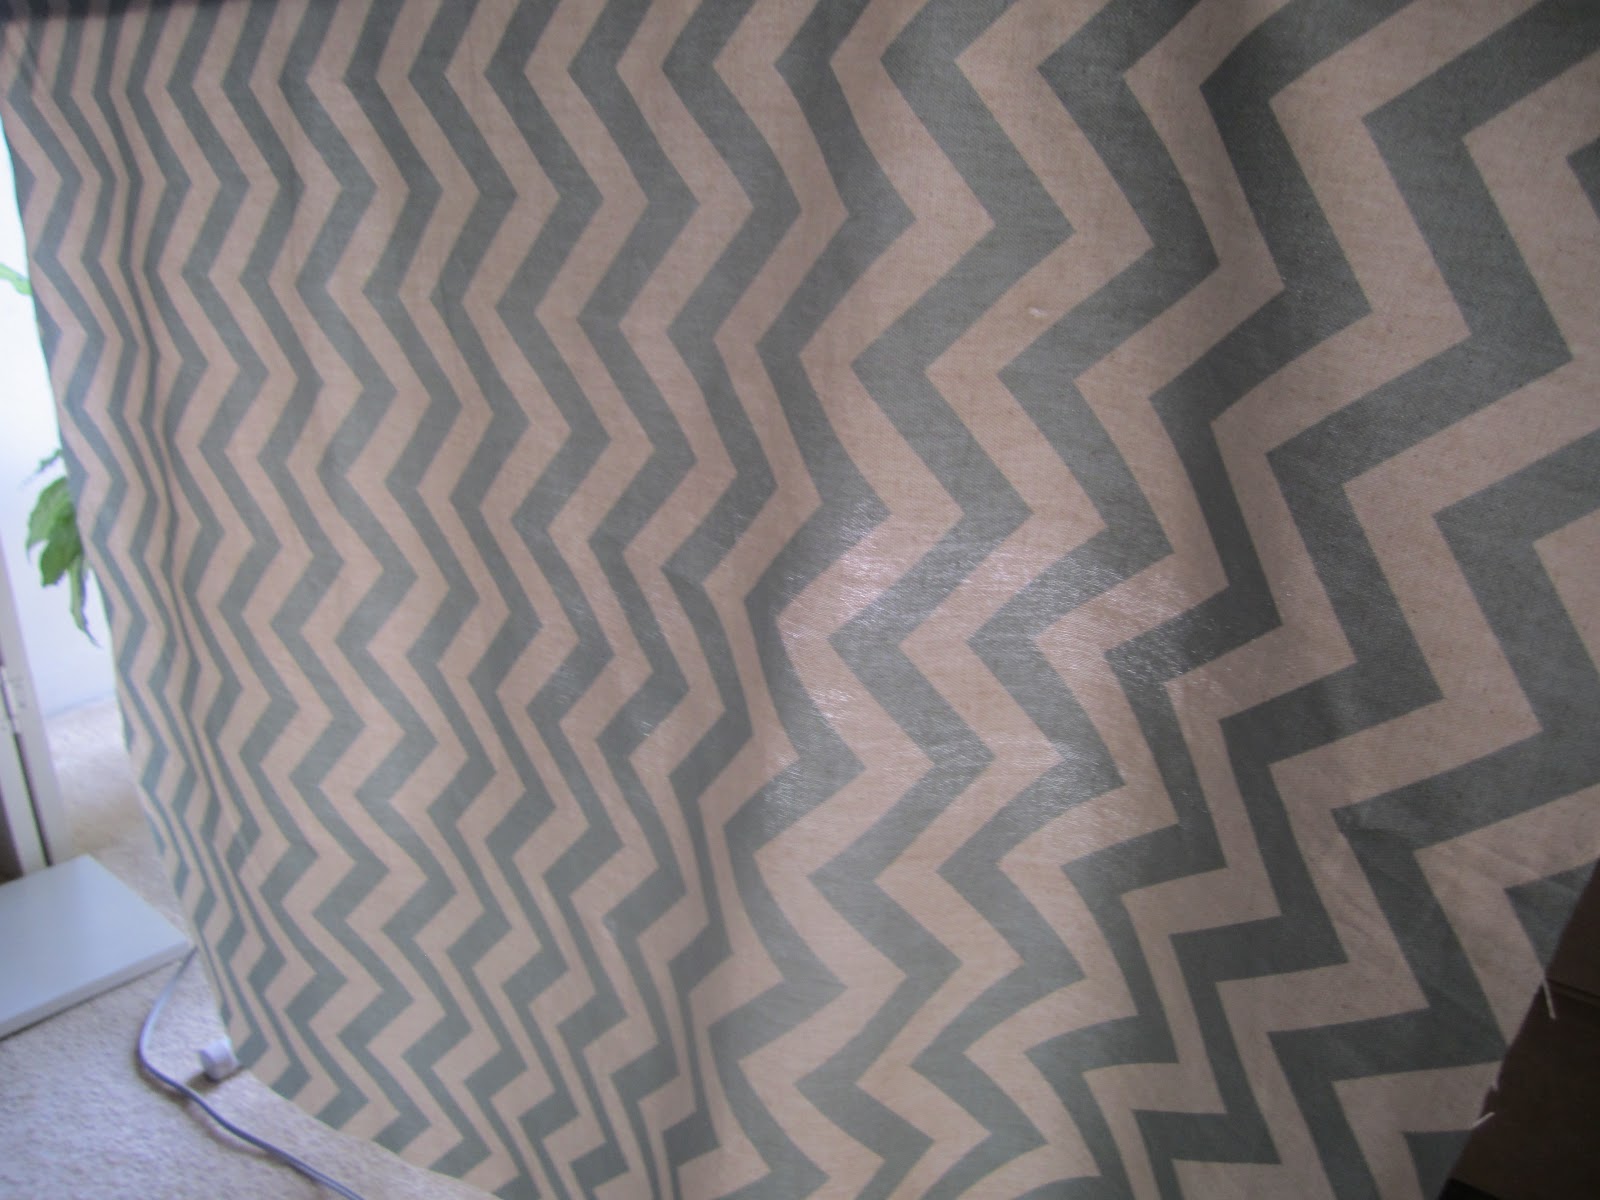
Next came the fabric, which the same step as the batting can be taken. Lay it flat on the ground with the pattern on ground (face down) and put the batting-covered wood over top.

Below you can see we stapled about every inch to secure the fabric evenly.

And finally, simply slipping it behind my bed to make a headboard!

I am so pleased with how it turned out! Helping to fuel my chevron print obsession! Enjoy
No comments:
Post a Comment